Yes, Oh My Zsh is awesome! That’s the first thing I installed when I switched from Bash to Zsh and I used it for a few years.
Past that time, I realized that in my daily use, the only features I was taking advantage was:
Autocompletion and history-based autocompletion using the arrow keys.
The fancy multi-line and colorful user prompt showing the working directory, and the switching color after the fail/success of the previous command execution.
The git repository info at the user prompt.
The
zcommand, provided by the ZSH-z plugin.
I couldn’t help myself but thinking that the Oh My Zsh framework was much more than I needed. I decided to remove Oh My Zsh and reset Zsh from scratch, so I could configure and install only the features I needed.
This is a four-part post series explaining how to set up those features on a fresh new Zsh installation:
Customize Zsh Pt.1 - Autocompletion
Customize Zsh Pt.2 - User Prompt 👈
Customize Zsh Pt.4 - ZSH-z Plugin
Custom User Prompt
As in other shells, the user prompt is set by the variable PS1.
To create a custom prompt, command substitutions and shell expansions are used, helping to achieve the following goals:
Apply line breaks to improve readability.
Apply different colors to different sections of the user prompt.
Display the
#character if the current user is the root user, or the>if the current user is non-privileged.Switch the color of the user character (green/red) depending on the previous command exit status.
How to Set Up
Add the following code into the bottom of the
.zshrcfile:# USER PROMPT # enable command-subsitution in PS1 setopt PROMPT_SUBST NL=$'\n' PS1='$NL%B%F{cyan}%3~%f%b$NL%B%(?.%F{green}.%F{red})%(!.#.>)%f%b 'Source the
.zshrcfile again, in the Zsh shell type:source ~/.zshrc
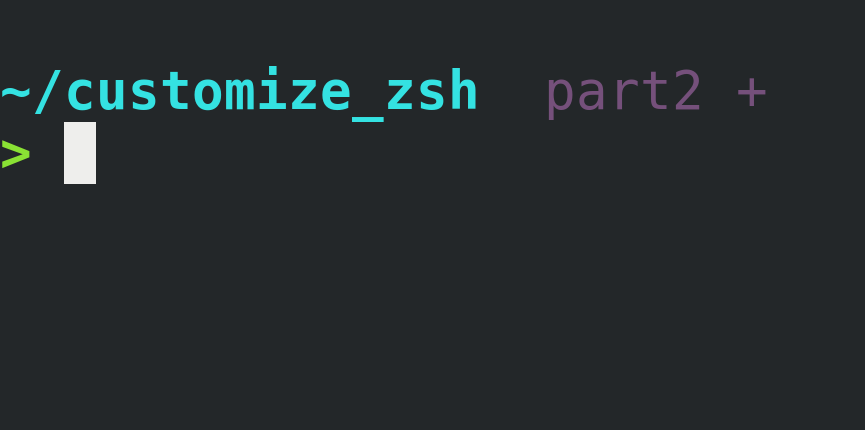
And here’s what you get:
Understanding the PS1 Code
PS1 code may seem messy at first sight so, let’s break it down to understand the parts and it’s meanings:
%B%bStart and stop boldface mode.%F{green}%fStart and stop usinggreenas the foreground color.%3~Show current working directory, but it starts with$HOMEreplace it by~. The integer3defines the number of trailing components of the current working directory to show (applying0shows the whole path).%(?.%F{green}.%F{red})Is a conditional substring that checks the exit status from the previous command and sets the foreground color to green if success or to red if error.%(<condition>.<if true>.<if false>)Encapsulates the conditional substring.- The
?condition checks the previous exit status of the last command.
%(!.#.>)Is another conditional substring that checks whether the current user is root (condition!) and shows#if true or show>if false (non-privileged user).NL=$'\n'Is a tweak, aNLvariable is being created to hold the new line character, avoiding quote character conflicts inside PS1. The variable$NLis used inside PS1 to define a line break.(To learn more please run
man zshmiscand seeSIMPLE PROMPT ESCAPESandCONDITIONAL SUBSTRINGS IN PROMPTS.)
Now the Zsh user prompt looks great and provides useful information!
Part 3 shows how to set the user prompt to display git repository information.
Next:
Customize Zsh Pt.3 - Git Info
Useful links & references:
- Zsh Documentation (
man -k zshto list each Zsh man page section)
Footnotes:
- Follow me on Twitter to get more posts like this and other quick tips in your feed.
- If you have any doubts or tips about this article, I’d appreciate knowing and discussing it via email.
- Do you have any other Cli tips? Would you like to publish that in this blog? Please send an email to cli drops.
- As English is not my native language, I apologize for the errors. Corrections are welcome.
- Contact: cli [@] alldrops [.] info.


