Yes, Oh My Zsh is awesome! That’s the first thing I installed when I switched from Bash to Zsh and I used it for a few years.
Past that time, I realized that in my daily use, the only features I was taking advantage was:
Autocompletion and history-based autocompletion using the arrow keys.
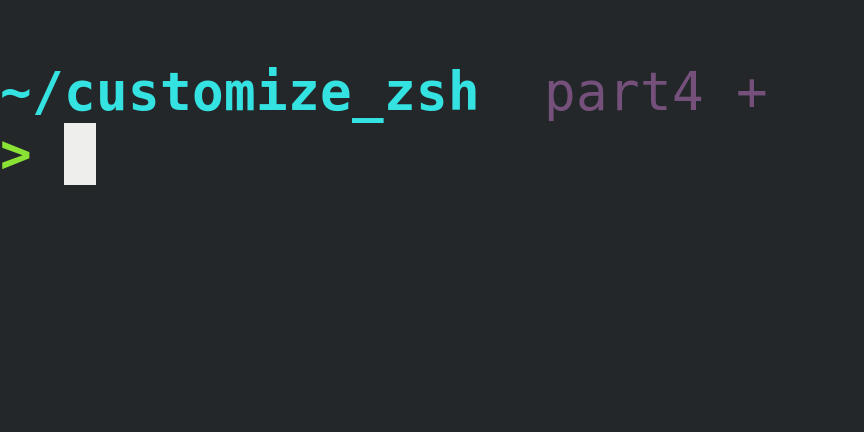
The fancy multi-line and colorful user prompt showing the working directory, and the switching color after the fail/success of the previous command execution.
The git repository info at the user prompt.
The
zcommand, provided by the ZSH-z plugin.
I couldn’t help myself but thinking that the Oh My Zsh framework was much more than I needed. I decided to remove Oh My Zsh and reset Zsh from scratch, so I could configure and install only the features I needed.
This is a four-part post series explaining how to set up those features on a fresh new Zsh installation:
Customize Zsh Pt.1 - Autocompletion
Customize Zsh Pt.2 - User Prompt
Customize Zsh Pt.4 - ZSH-z Plugin 👈
ZSH-z Plugin
This is a very handy tool:
ZSH-z is a command line tool that allows you to jump quickly to directories that you have visited frequently in the past, or recently…[read more]
You may know that you could be using Zsh plugins managers and frameworks to install/enable plugins but, let’s stick to the simple way we already applied.
How to Set Up
Create a user custom Zsh plugins directory, and a directory for the ZSH-z plugin:
mkdir -p ~/.zsh/plugins/zsh-zDownload the script and save it to the plugins directory created:
From Zsh:
curl https://raw.githubusercontent.com/agkozak/zsh-z/master/zsh-z.plugin.zsh -o ~/.zsh/plugins/zsh-z/zsh-z.plugin.shFrom the browser:
https://github.com/agkozak/zsh-z/blob/master/zsh-z.plugin.zsh
(Remember to save into
~/.zsh/plugins/zsh-zdirectory)Load it in Zsh and enable some configurations by adding the following code into the
.zshrcfile at the# PLUGINSsection created in the last post:# PLUGINS source ~/.zsh/plugins/git/git-prompt.sh source ~/.zsh/plugins/zsh-z/zsh-z.plugin.sh # git prompt options # ... # zsh-z plugin options ZSH_CASE=smart # lower case patterns are treated as case insensitive zstyle ':completion:*' menu select # improve completion menu styleSource the
.zshrcfile again, in the Zsh shell type:source ~/.zshrc
It’s ready, give z command a try!
The gif demo belongs to the project’s GitHub repository: https://github.com/agkozak/zsh-z
This is the end of the Customize Zsh post series and you unlocked powerful Zsh features!
Keep going, try yourself to enable more tools/features, and let me know on Twitter or via email.
Useful links & references:
- Zsh Documentation (
man -k zshto list each Zsh man page section) - agkozak/zsh-z
Footnotes:
- Follow me on Twitter to get more posts like this and other quick tips in your feed.
- If you have any doubts or tips about this article, I’d appreciate knowing and discussing it via email.
- Do you have any other Cli tips? Would you like to publish that in this blog? Please send an email to cli drops.
- As English is not my native language, I apologize for the errors. Corrections are welcome.
- Contact: cli [@] alldrops [.] info.


